How to install AdOpt's WordPress plugin?
- The AdOpt installation script should be installed in the head of the site for optimal functionality. When installed in the body, the AdOpt Cookie Banner may not function correctly or could be altered.
- To ensure the proper functioning of the AdOpt Cookie Banner, it is best practice to give AdOpt priority over other services on your site, as AdOpt informs about the presence of other services only if loaded before them.
- Another purpose of AdOpt is to restrict the activation of other services before consent is given (blocking Tags before consent), which should also happen in the first moments of the site loading.
-
The official Google Tag Manager (GTM) documentation advises using a Plugin for proper configuration. In this case, the recommended Plugin is Site Kit by Google. By installing GTM through this Plugin, you will be following the recommended guidelines.
-
On the official WordPress website, the page explaining how to install GTM on your WordPress site presents another installation method: using the Plugin "Insert Headers and Footers", which allows adding and managing different custom codes on your site.
-
Another possibility is installing GTM via a Plugin.
- Via Google Tag Manager;
- Directly in the site's code;
- Using a Plugin for inserting scripts;
- Using the AdOpt Plugin for WordPress.
If you already have GTM installed, simply follow the installation tutorial via GTM.
Follow the tutorial on how to find the installation code and insert it directly into the
header.phpWe recommend using the WP plugin Insert Headers and Footers. Just follow the tutorial for installation via Script Insertion Plugin**.
-
Go to the WordPress plugin store and download the AdOpt plugin for WP.
-
Install the AdOpt Plugin on your WP site and activate it.
-
If you haven't created an account on the AdOpt website yet, create one here.
-
In the menu of your Organization within AdOpt, find the Disclaimer that contains the URL(s) you want to install. If you haven't created your Disclaimer yet, follow the tutorial on how to create your Disclaimer.
-
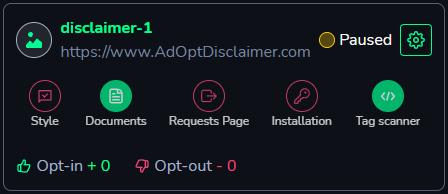
After creating a Disclaimer, follow this tutorial to find your Discalimer's ID or find it in your AdOpt dashboard, click on the gear icon, and select Copy Disclaimer ID.

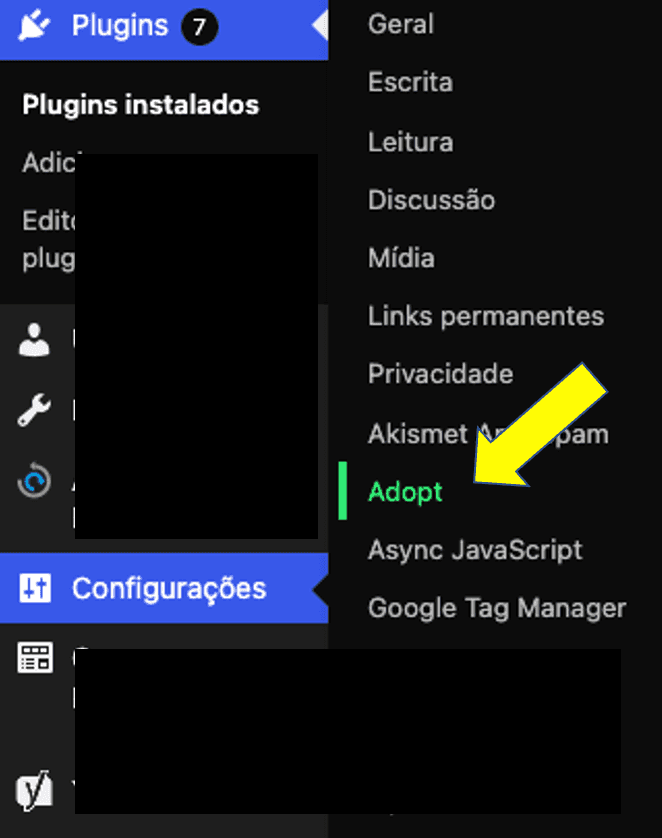
6. Go back to your WP-Admin. In the lower-left side menu, go to settings and click on AdOpt.
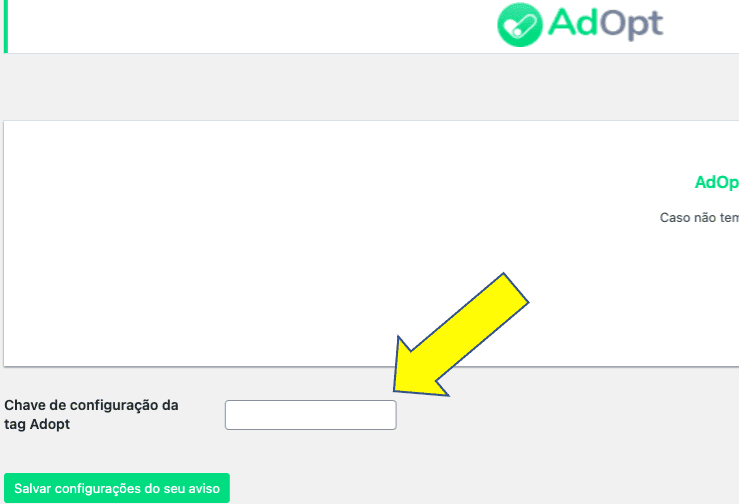
7. Paste the Disclaimer ID into the designated field and click Save.
8. Done! AdOpt is now installed on your site.
Some cache Plugins may block AdOpt from functioning properly. If your site uses Rocket or a similar Plugin, follow the steps below to allow our script to work on your site. Don't worry, the AdOpt Tag is very fast and will not slow down your site!
- In Rocket, access to the file optimization screen.
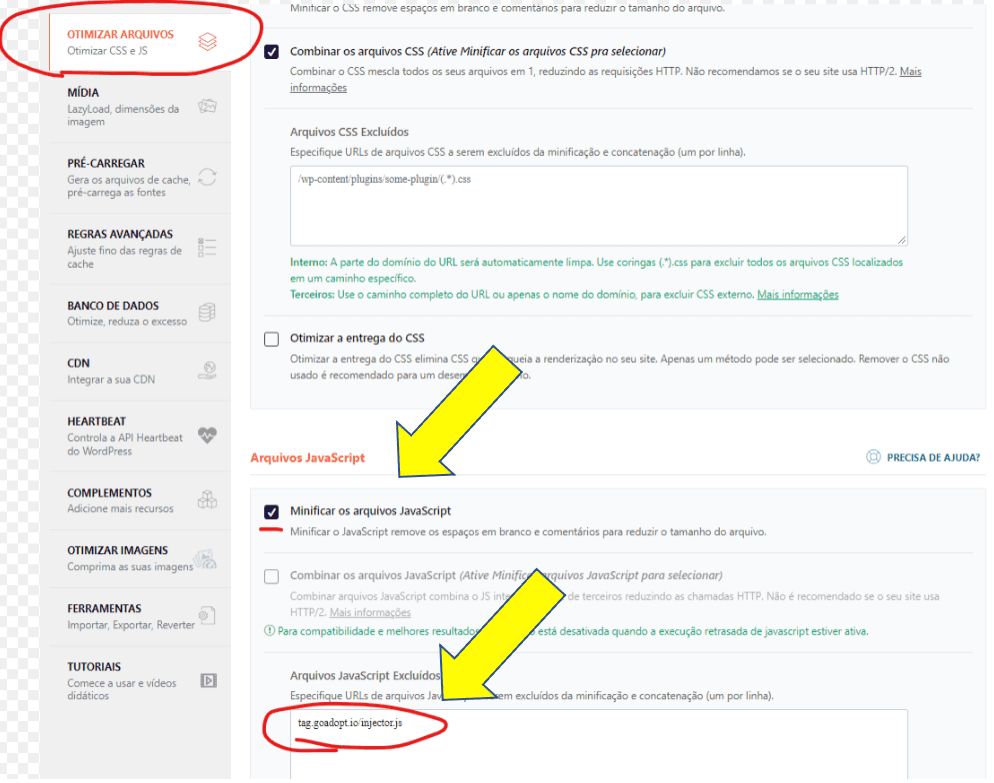
2. In the lower section, "Excluded JavaScript Files," enter the following URL in the text field:
tag.goadopt.io/injector.js3. Save and clear the cache.
4. Done! The AdOpt Tag will work normally on your site!
Our CMP's WordPress plugin (AdOpt) is integrated with WordPress's official WP Consent API plugin.
This integration allows consent to be automatically synchronized between the two tools, ensuring compliance and simplicity in cookie management.
The mapping of AdOpt categories to the WP Consent API occurs as follows:
necessary → functional
functional → preferences
performance → preferences
marketing → marketing
statistics → anonymous-statistics
statistics → statistics
AdOpt
Resources
Legal Terms
© GO ADOPT, LLC since 2020 • Made by people who love
🍪