Setting Microsoft Azure AD SAML with AdOpt
To set up the Microsoft Azure AD SAML Single Sign-On (SSO) integration with AdOpt, follow these steps:
1.1. Access the Azure portal and log in with your credentials.
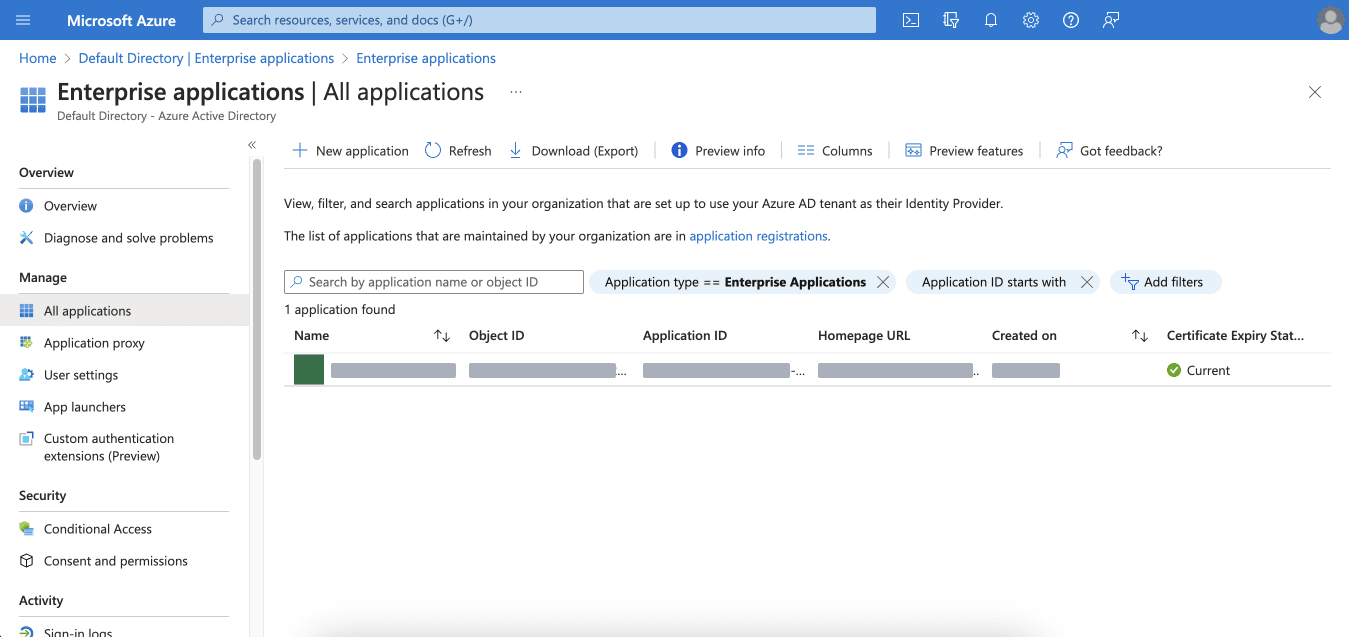
1.2. On the home page, select "Azure Active Directory" from the left menu and click on "Enterprise applications."
1.3. Click on Enterprise application and fill in the required fields to create a new application if you haven't already done so.

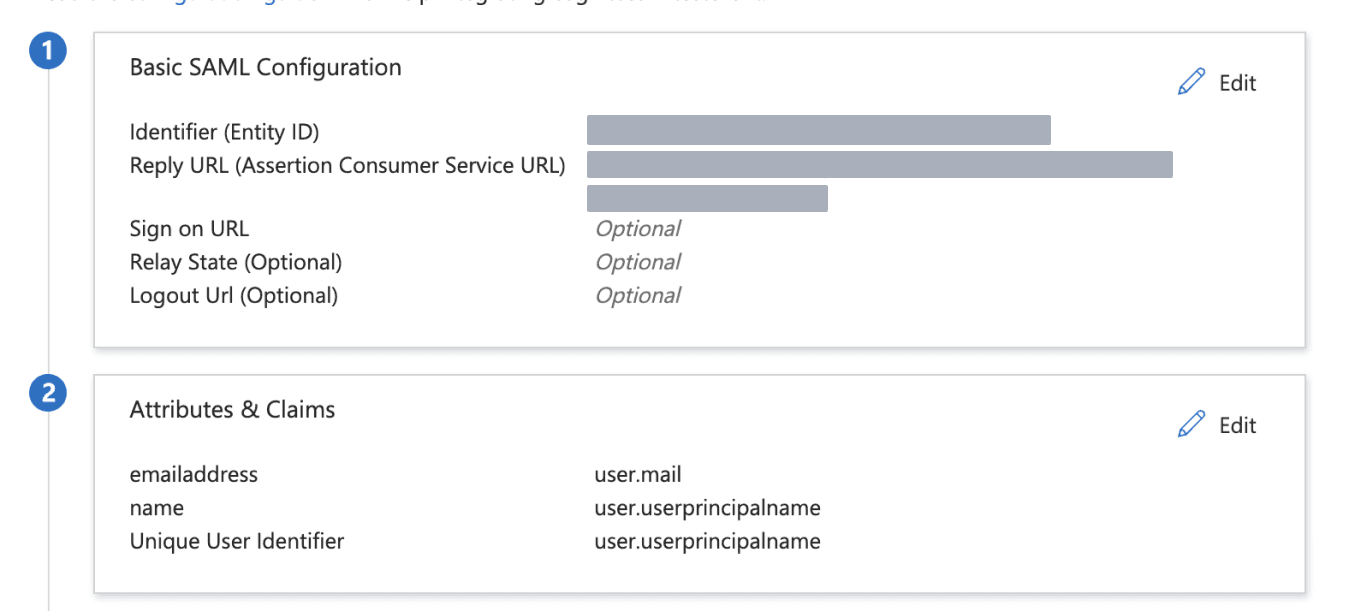
1.4. After creating the application, go to the "Single sign-on" section and configure the Basic SAML Configuration. Enter the Identifier (Entity ID) and Reply URL provided on the AdOpt configuration page.

1.5. Setting Up Attributes & Claims
The required attributes for the flow to function properly are name and emailaddress.
Configure both as follows:
name = user.userprincipalname
emailaddress = user.mail

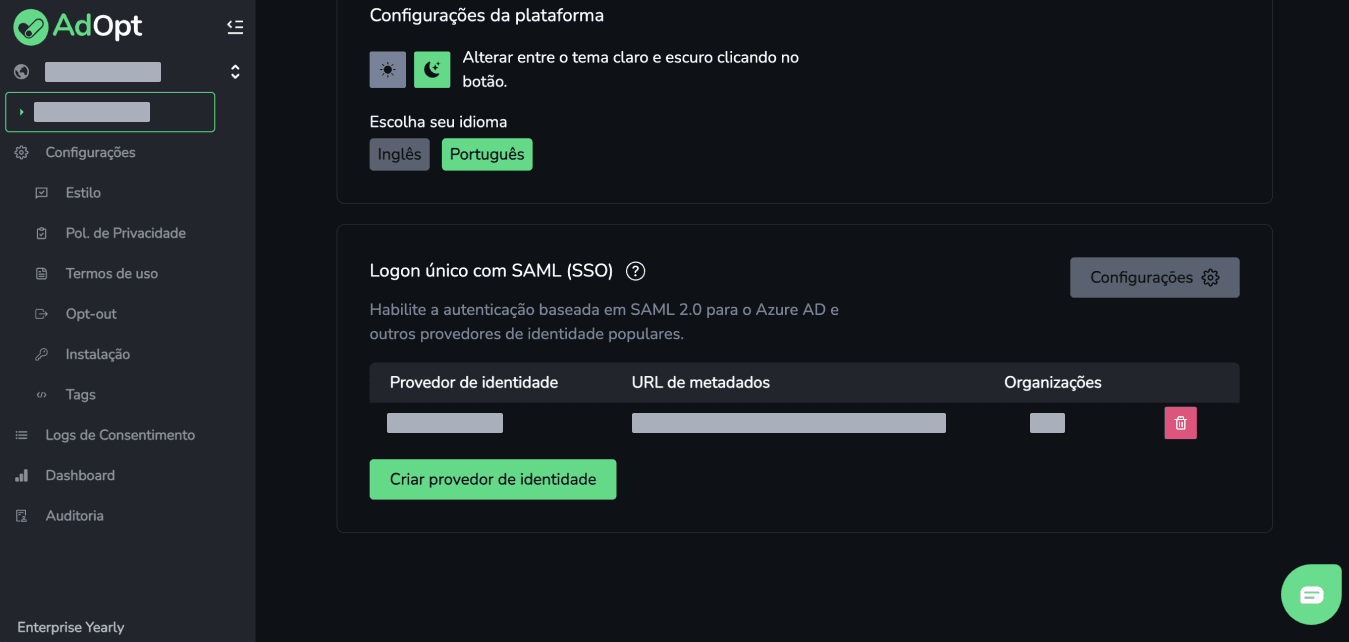
2.1. In the AdOpt dashboard, create an Identity Provider with a unique name (no spaces or special characters). Copy and paste the Azure metadata URL and select the organizations for which users will have access. This URL can be found in the "SAML Certificates" section on the "SAML-based Sign-on" configuration page in Azure.
With these steps completed, the integration between Azure AD SAML and AdOpt will be finalized and ready to use.
AdOpt
Resources
Legal Terms
© GO ADOPT, LLC since 2020 • Made by people who love
🍪